Showing posts with label Drawing. Show all posts

Wednesday, February 4, 2015

Unleash Your Students' Knowledge With ScreenChomp!


Recently, I attended a professional learning opportunity on assessment which was led by Myron Dueck.  Myron is the author of "Grading Smarter, Not Harder: Assessment Strategies That Motivate Kids and Help Them Learn", and a leading authority and speaker on effective assessment in the classroom.  In one of his sessions, Myron shared with us the use of using whiteboards for assessing children in the classroom.  Essentially the student shows their learning of a particular concept using a small whiteboard and marker while explaining their understanding.  The teacher or another student can record the "whiteboarding" session with a camera or tablet.  The teacher can then assess the student's learning and also show the child's learning during parent/teacher meetings or student led conferences.

The day after the professional learning opportunity, I ordered thirty whiteboards from Scholastic using my Bonus Bank.  When the whiteboards arrived, I was eager to get started.  I gave pairs of students a whiteboard and an iPad and asked them to show six ways to represent numbers which was a concept we covered previously in math.  One student would show their knowledge on a whiteboard while the other student would record the "whiteboarding" session over the shoulder of the presenter.  This was a fantastic way to gain insight into a child's thinking and it also provided a powerful sample of work I could use for assessment and/or evaluation.

One other reason I wanted the students to record their thinking was to share their "whiteboarding" videos on our YouTube channel so that other children who may be struggling with a specific concept could watch our student videos and hopefully learn from children their own age.  This is essentially the same strategy to learning that Khan Academy has been so successful with.  The issues I have found with the above "whiteboarding" strategy has been camera shake, lots of noise from the camera, and often a limited view of the student's work.  Enter the ScreenChomp app.

ScreenChomp is an amazing iPad app produced by Techsmith, the same company who brings us fantastic software such as Camtasia, Snagit and Jing to name a few.  The app is completely free to download and use and the simplicity of the program is pretty amazing for division one students.  My students were able to essentially pick up the iPad and create some pretty awesome videos after playing with the app for only a few minutes.

There are many ways that students and teachers can use ScreenChomp in the classroom.  Some examples are:
  • Students demonstrating their knowledge on specific concepts (e.g., rock/water cycle, math concepts, verbs/nouns).
  • Teaching a concept for a student who was absent or for a flipped classroom.
  • Students creating videos for other students to learn.
  • Teacher lessons and extension activities
  • Students creating videos about their families
  • Demonstrating traditional and cursive handwriting
  • The possibilities are endless

Examples of Student Created ScreenChomp Videos

Here are some ScreenChomp videos that students from my grade three classroom created.  This is a YouTube Playlist so you can skip between videos.  Also, text was added to the video using Movie Maker.


ScreenChomp is extremely easy to use and I encourage you to play with it and let your students create videos on a topic of their choice.  Below is an extensive tutorial on how to use ScreenChomp.

ScreenChomp Tutorial

Main Screen on ScreenChomp- Refer to image below

  • Your ScreenChomp Videos - this is where your videos save to.  You can see in the image below that I have 3 created videos there.
  • Adding Backgrounds - here you can add a background image as you will see later.
  • Complete Erase - if you hold this picture down, it will erase the entire whiteboard except backgrounds.
  • Multiple Pens - you can set the pen colors/thickness ahead of time or on the fly as you will see below.
  • Eraser - this allows you to erase like a normal eraser.
  • Record Button - press this button to begin recording your whiteboarding session.

Main Screen on ScreenChomp

Creating Videos Using ScreenChomp

Hannah creating a ScreenChomp video
Adding a Background Image

When you start creating a video on ScreenChomp, you may want to add a background image.  In this example, I am adding an image of the water cycle for a student to explain.  First you need to click on the "Background Image" tab as seen below and choose where you would like to upload the image from. You can choose an image:

  1. on your camera roll by selecting, "Choose From Library",
  2. from your Dropbox account.
  3. by taking a photo using your iPad.

Background Choices

After you choose your image, you can move it, resize it, or rotate it.

Move, Zoom, or Resize the Background

Below is the image of the water cycle inserted and ready to go for my "whiteboarding" session.

Water Cycle Background Added

Setting the Pens

You can always change the pen colors and thickness while you create your video but I like to have three pen colors chosen before I record my video.  To do this, just choose one of the pens and a color/thickness screen will popup.  See the image below.  Choose a pen color and thickness for each pen.

You Can Change the Pen Color and Thickness

Recording Your "Whiteboarding" Session

You are now ready to record your video.  To record, just hit the "record" button.  Once you press the record button, you will be given a countdown screen like the one below.

Countdown to "Whiteboarding" Session

Your ScreenChomp session will begin when the countdown session is over and you will know it is recording because you will have a microphone and timer in the upper right hand corner (see above image).  During the recording, you can do several things like pause the recording, change pens and colors, erase small sections or completely erase the entire screen except the background.  You can also scroll to a new white space.

Full Erase and Spot Erase
To erase everything except the background, you can hold down the "Complete Erase" image for three seconds.  A cloth will appear and will erase the screen.  The cloth does not show up in your video.  To erase only small sections of the pen drawings, you can choose the eraser and erase on the screen.  

Two Eraser Options - Complete or Spot Erase

Scrolling
While recording, you can scroll up or down.  This will give you white space where you can continue your "whiteboarding" session.  To scroll, put two fingers on the screen and scroll up or down.  See the image below.


Scroll Up or Down While Creating Video
When you are done creating your video, press the "stop" button and your video will be saved.

Saving Videos Created Using ScreenChomp


Hannah enjoying ScreenChomp 
Viewing your video
You are done recording your video and are ready to preview it.  Once you press the stop button, the screen below appears.  From here you can:

     1. Playback the video
     2. Delete your video and try again
     3. Give you video a title
     4. Share your video


Options For When Your Video is Created

Saving Your Video
In order to save your video, you need to choose the "Share" image above.  This will save your video back on the main ScreenChomp screen.  You can see in the image below that I have three saved videos and one that is currently saving.  Videos are saved on the ScreenChomp server but I like to download them in MP4 format.  This will be covered below.

Where Your Videos Are Saved

Accessing Your Saved Video
You have now saved you video and you want to access the link or download it.  To do this, choose the video you wish to access from the files of saved videos.

Accessing Your Saved Videos

Once you choose the video you would like to access, the screen below will open.  From there, you can:
     1. Play the video - also in full screen
Share It
     2. Copy the link
     3. Email the Link
     4. Tweet the video
     5. Open the video in Safari

Sharing Your ScreenChomp Videos

Downloading Your ScreenChomp Creation

Downloading on your iPad
     1. From the screen above, click "Open in Safari"
     2. Safari will launch with your video.  Scroll down below your video and click on the "download"
         link.

Downloading ScreenChomp Videos
Downloading on your computer
     1. Choose "Email Link" (see two images above).
     2. Email the link to yourself so you can open the url on your computer.
     3. When you click on the link, you will be taken to your video like the above image.  
     4. Scroll down until you get to the option to "Download".  
     5. Click on "Download" and save it to your preferred location.


If you have any comments or questions, please post them below.  I will update this post if questions arise.


Wednesday, November 19, 2014

Digital Worksheets - Using Google Drawing In Math

Can't They Do The Same Thing On Paper?

I've started using Google Drawing as a math centre this year. I've been creating what I call digital worksheets. Students are given material to respond to, similar to a paper worksheet. So why not just give them a paper worksheet?
  1. Technology in and of itself is motivating - it can be in colour when worksheets are black and white.
  2. It teaches them skills that will allow tasks to be more student created later in the year.
  3. It's more environmental.
  4. The more I use this format, the more likely I'll create more transformative activities. 

My Centres

Typically I do math centres a minimum of once a week. I have three centres in a one hour block. So that is about eight students to a centre. I try to make two centres that require little teacher input and then one Google App centre that I spend most of my time at.  I give a quick overview of the centres to start and then students rotate through the centres. Each centre is about 15-18 minutes in length.

The Activities

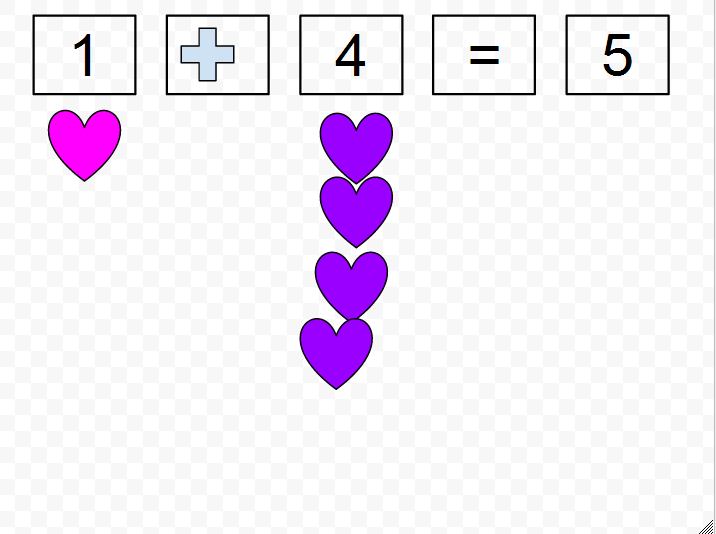
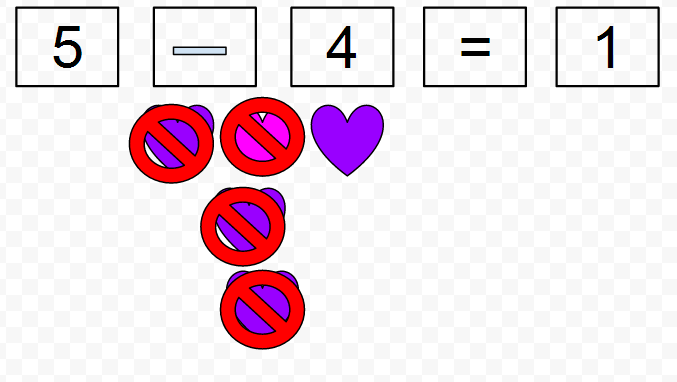
Thinking Addition For Subtraction

Students had to drag the subtraction number sentence to the related addition sentence and use the addition sentences to solve the subtraction questions.

What worked well: the simplicity of the activity.

What I would change: I made the font too small. My students use netbooks and while it worked okay, I think less questions with a larger font would be better. 

I have made a revised template for use next year. To use it yourself, open the file and Make A Copy


Make Them Equal - Make Them Unequal


Students had to drag the dots to the scales to either make the picture look equal or not equal. Students then had to fill in the number sentence - I had provided the symbols.

What worked well: students were able to do the task independently and they enjoyed the activity. Some were disappointed that the scales did not react to their choices ("Why doesn't the scale move up or down?").

What I would change: Sometimes students would drop a shape where they did not want it and in attempting to move it, would move the scale instead. I would like to find a pan balance image that would eliminate that issue. I try to always use images in my class that are free to use and I was not able to find a two pan balance/scale that was free to use that did not have a middle stem. I also required students to use all the objects for each picture. I do not think I would set that restriction next time.

Here is a template. To use it yourself, open the file and Make A Copy

Math Equality Journals

Students had to drag the images to show two equal sets and two not equal sets. Students then had to type a sentence for each symbol to explain what it means. My student who did not know how to spell equal was able to grab his duotang and use it to spell it for his work. 

What worked well: All students completed all parts of the task. 

What I would change: Nothing at the moment. I kept in mind the issues I had in the previous two activities and I was really pleased how it worked this time. Third time is the charm they say?


Here is a template. To use it yourself, open the file and Make A Copy

For these and other division one Google App templates, check out Division One Collaboration Site For Educational Technology. Click on the activity you like and make a copy!

Tuesday, May 27, 2014

Google Drawing

Are you looking to have your students classify or sort information into categories? Look no further... Google Drawing to the rescue!

Background Information
I have been very successful in implementing this in my grade 1 class. First, I found Google Drawing to be fairly simple for students using technology for the first time. It's easy for students to manipulate objects and drag objects. It helped build up my students' confidence in using technology. I found it to be easier for younger students to engage in these activities using an actual mouse rather than a keypad on a laptop or Chromebook. I use this as a quick assessment tool.

Teaching the Skills
First off, I wanted students to be able to get on the activities quickly. I had created a Google Drawing template, created a copy for each of my students and shared it with them. It's a bit tedious, but well worth it. That way, all the students would have to do is login to Google Drive and click "Shared With Me" and it should be the first link that pops up.

However, I learned recently that it will be easier sharing the template using the Doctopus add-on (Thanks, Colette!).

Activities 
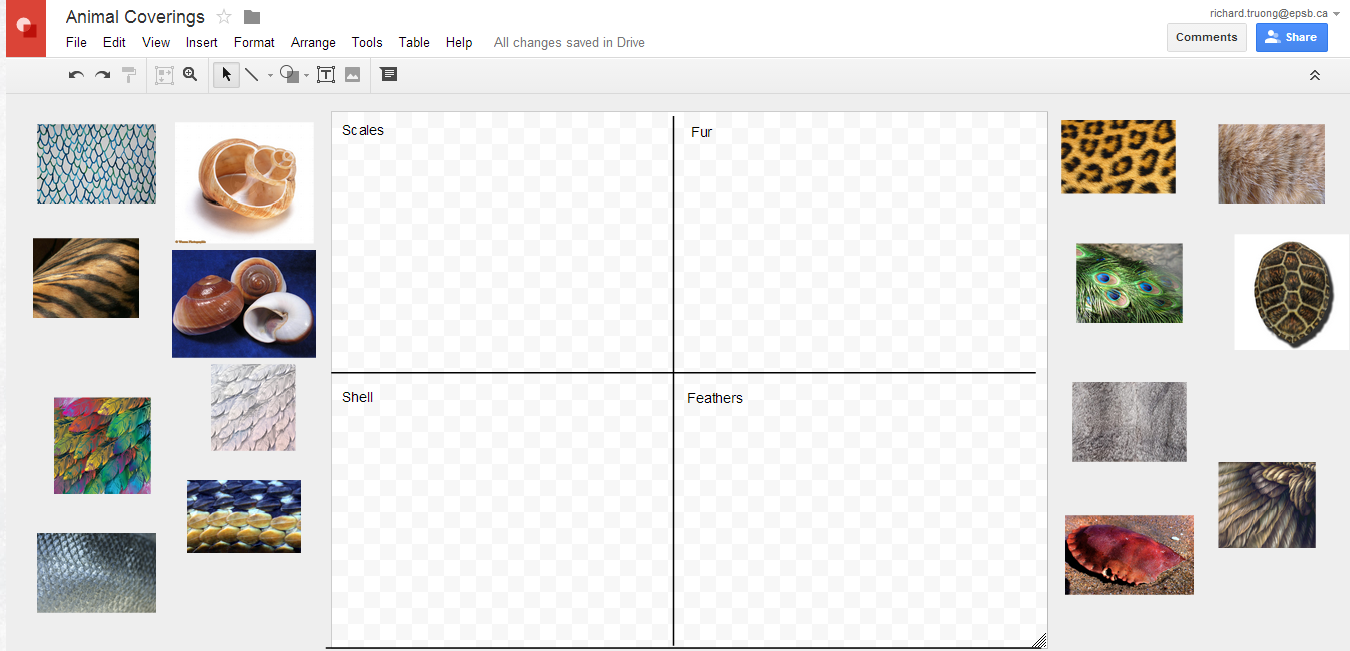
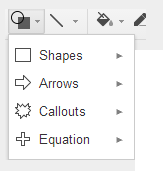
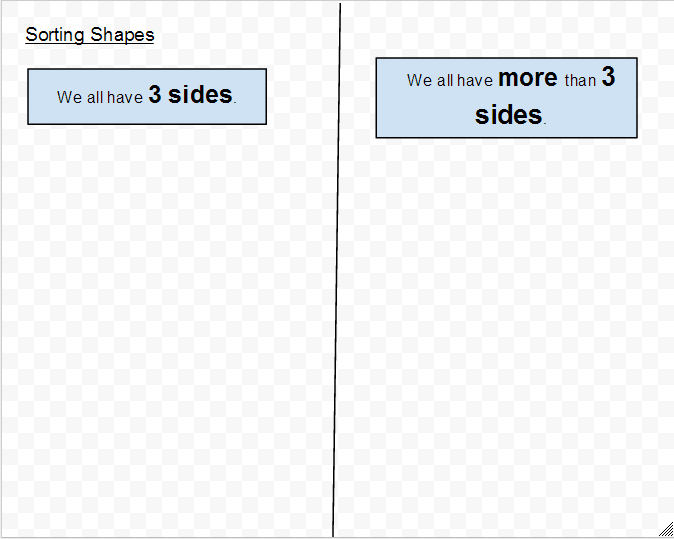
One of the easiest activities is to just have students to click and drag objects into categories. For example, I had students sort animal coverings into four categories: fur, scales, shell, and feathers. Alternatively, students could come up with their own ideas and find their own pictures using the research tool. In Google Drawing, you can find this under "Tools" --> "Research".


The next challenge is having students create their own shapes using the shape tool.


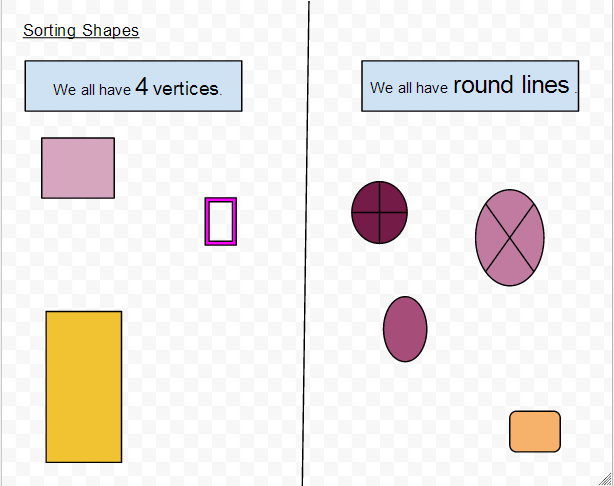
They were to create shapes and put them into the appropriate headings/categories. The students had little difficulty creating the shapes. The instructions were to find the shape that they wanted and click and drag. In my template, I had them double click into the text box to add their own numbers. Here's an example of this type of activity.


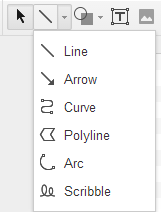
The last type of activity that I have explored involves students using the line tool.


I had them focus on using the polyline. The students didn't have too much trouble figuring this one out. The trick is to ensure the shape they are making is CLOSED. After that, Google shades the shape in automatically and the kids love to see that! Of course, they are welcome to change the colours.


Here are other examples of Google Drawing assignments/projects that I have or another teacher had done.

2D Shapes


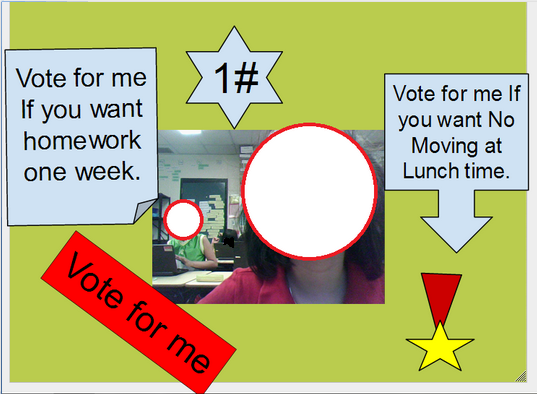
Grade 3 Election Poster


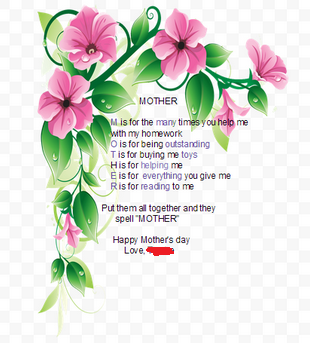
Mother's Day Acrostic Poem (Thanks, Shelly!)


There are so many possibilities on using Google Drawing in the classroom! You can find the links to the templates here.


Sorting 1 (Vertices)


You can also find them on the Div1 Collaboration Site for Educational Technology here: https://sites.google.com/a/epsb.ca/division-one-collaboration-site-for-educational-technology/

Thanks for reading!

Tuesday, April 15, 2014

A Reflection: Getting Started With Google Drawing

Show Me The Potential

I had not used Google Drawing at all with students prior to the Alberta GAFE Summit and dismissed it as something similar to Microsoft Paint but online. I decided to go to the session Getting Started With Google Drawing to see if there was more potential for use with my grade twos than my assumption led me to believe. 


First The Basics

Michelle Armstrong gave a good all around session. She started with a simple how to that reviewed the standard Google Apps toolbar and the Drawing specific toolbar features. One of the tips that I thought was useful was about page set up- she suggested setting it to letter paper size.

If you want to learn the basics you may want to start by watching this short video. More resources are listed below.


Classroom Use

Once she covered the basics, she got to the part I was there for - classroom use.  She modeled two group activities and had use the participants complete the tasks:

  1. Share a drawing of something that requires labels and have the class/group complete it together.
  2. Share a table of items that require sorting and have the class/group sort it together.

Then she shared other possible classroom uses.

She also suggested people check out the Google Templates. She shared many examples. Here are the ones that could be possibly used in division one (links goes to Michelle's copy of the templates):

She ended with some useful resources:

Implementation

I left with more ideas than I remember. Michelle's session definitely did was I had hoped - showed me the potential of Google Drawings for useful, meaningful and practical use in the division one classroom. Below are some examples of what I have tried so far. 

Social Studies Natural Resources Poster

I had my students use a template that I created to make a Google Drawing about the natural resources in Nova Scotia. First they had to do research and record their ideas on paper using a template I created in Google Drawing. Using Doctopus, I shared with them Natural Resources In Meteghan Student Online Template (when sharing with them I just called it Natural Resources). They had to type a sentence in each box and have a picture that went with it. 


Partner Poetry and Brainstorming

As I wrote about in the post Partner Acrostic Planning and Writing on Google Drawing - Successes And An Oops, I had students use Google Drawing for planning and creating a collaborative acrostic.


More Reflections and A Bookmark

After writing the first draft of this post, I came across a blog post that, interestingly enough, was reshared by Michelle: Overlooked Opportunities. Much like me, the author had initially dismissed Google Drawing but after attending a session at a GAFE summit he changed his mind. I like how he described it: overlooked opportunities. "I saw Drawings as a somewhat rudimentary tool...they've redefined my vision of how to use Drawing." Like me, he was impressed with what could be done with Google Drawings. 

More importantly, his blog/reflection led me to a new blog by a Canadian grade two teacher: New Fluencies. Check it out if you want some division one activities that integrate technology meaningfully. 


Tuesday, March 25, 2014

Partner Acrostic Planning and Writing on Google Drawing - Successes And An Oops

Collaboration Time

I wanted to begin to use the collaboration aspects of Google Apps for Education (GAFE) with my grade twos. Until now, most of the work they have done with GAFE has been individual. Part of the reason they have not collaborated with GAFE is skill development. I wanted to build their skills as technology users before adding another complicating factor. 


The Plan

I made a Google Drawing template for each pair to work on based on the bubble maps we have done in class. I also made an acrostic on Google Drawing for each pair.

I shared each Drawing with one student in the pair only. I wanted to extend the skill of "Sharing". Students in my class are already skilled at sharing with me. 

I assigned partners, keeping in mind technology and problem solving skill levels. I also made sure they were not sitting by one another.

I modeled the activity on the Smartboard, with one of my students as my partner. We discussed shared work etiquette, such as do not work where you see your partner's cursor. I also suggested that the person who was being shared WITH help the student doing the sharing by standing by them as they enter the username. We discussed about deciding who would do which 'boxes' to avoid confusion, one person could do the top three, the other could do the bottom three. We also discussed that it was okay to add to your partner's work.


The Oops

I used Doctopus to share the Drawings. The problem was that the students are not the owners of the Drawings (I am) and only the owners can Share. So I quickly opened up the 13 Drawings and made the students the owner of their copies. I had to do that with both activities.


Good Practice That Came In Handy

In general, when I try a new technology skill or activity for the first time, I try to build in extra time to allow for issues or problems. Because I had given my lesson a cushion of time, I was able to deal with the sharing issue and still have most students finish the activity.  


Why Two Activities?

Repetition is important when learning any skill. I wanted the students to go through the process twice, which is why I planned two relatively short activities within the same lesson.

Students/pairs worked on the brainstorm. Then, when most pairs were done, I had them come back to the Smartboard. Once again I modeled the activity on the Smartboard, with one of my students as my partner. We also reviewed good collaboration etiquette.


Successes

Students enjoyed the task. They were able to work successfully with their partners. Some partners were able to add an image and move it to the background, with my support. We did not do any editing or revising as this was just a lesson in learning technology and collaboration skills.


Next?

Students are going to do the same lesson, with different partner. Instead of "spring" they will do March. The goal will to have ALL pairs get to the insert an image as a background stage.